.webp?width=120&height=85&name=Relentless-Digital%20(1).webp)
1. Log in to Google Ads
• Visit: https://ads.google.com/ and go to your Ads Dashboard Overview.
2️. Access Verification Settings
• In the left-hand menu, click Billing, then select Advertiser Verification.

• Review the reasons Google requires verification.
3️ Start the Verification Process
• Scroll to the bottom right and click Start Verification.
4️ Answer Initial Questions
• Is this account run by an advertising agency? → No (unless true for your case)
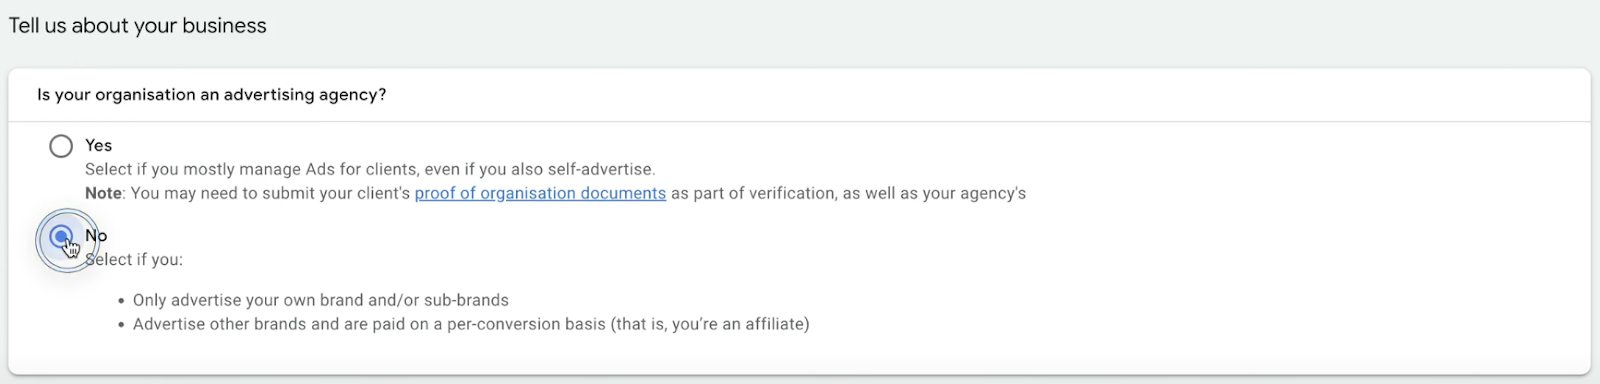
• Who pays for the ads? → We pay directly
• Click Save & Continue then click Start Verification
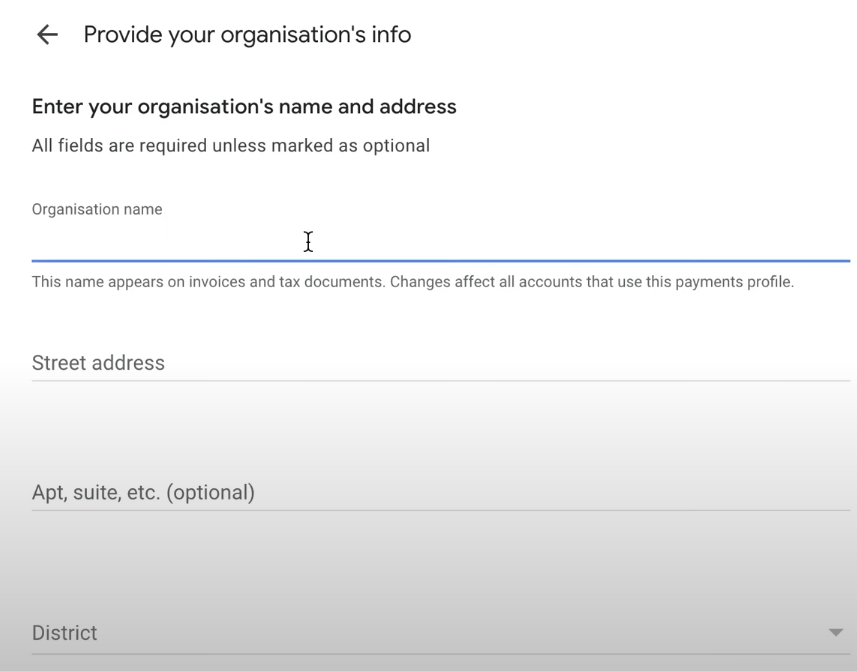
5️ Provide Business Information
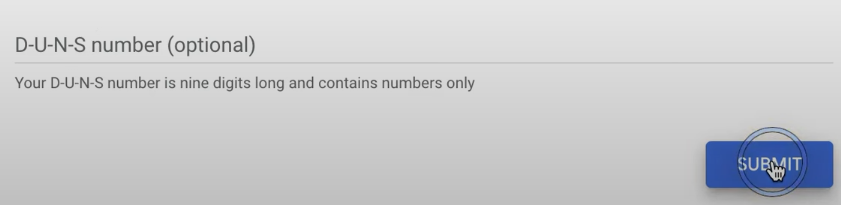
• Input your legal business name and address. You can skip the DUNS number if you don’t have one.
6️ Upload Required Documents
• If Google can't verify your details automatically:
Upload supporting business documents (e.g., business registration, incorporation papers).


7️. Finalize Verification
• Confirm your address (Google may suggest a standardized version).

• Input your business registration number if required and click Submit.

What Happens Next:
• Your verification status will show as “In Progress.”
• Approval can take a few days (some cases up to 30 days).
• Google will notify you if additional info is needed.
Key Reminders:
✅ Complete this promptly to avoid paused ads.
✅ Double-check all entries for accuracy before submitting.
✅ Watch for any follow-up emails from Google.